How It Works
-
1
Locate the Terminal
Every Drill has a terminal built into its upper interior.
-
2
Capture the Drill
Capturing a Drill at that terminal uncovers 1 number of a code — implying multiple Drills need to be captured to assemble the full code. Capturing a hostile drill tower pays $1,500 and 300 XP. Which class track the XP goes to isn’t stated.
-
3
Move the Hot Zone
With the full code, you can move the Hot Zone to that Drill tower for a period of time.
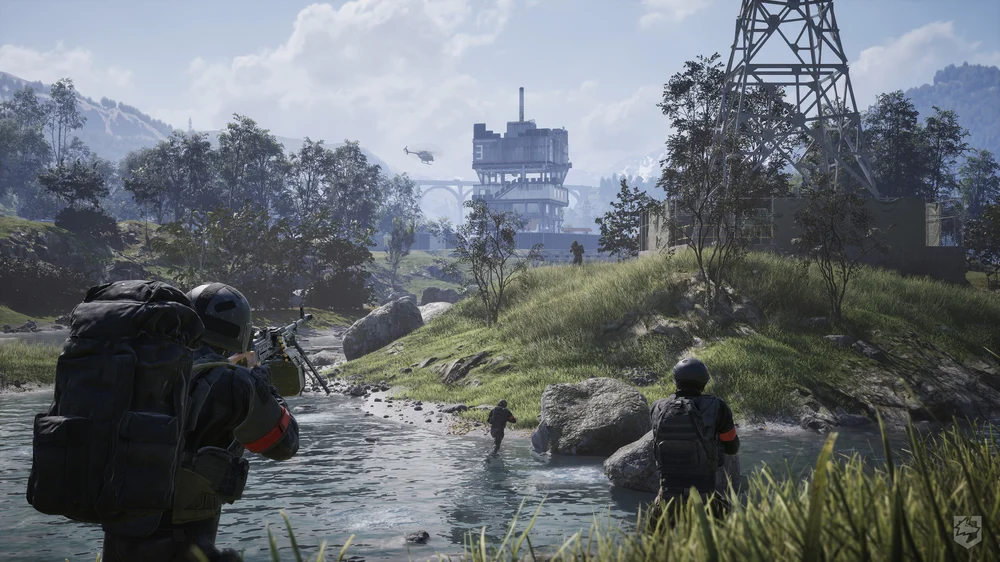
A Drill tower with its terminal, the thing you actually capture.
Note
Drills Have A Start-of-Match Cooldown
Drills also have a cooldown at the start of a match — a Drill cannot be captured immediately when the match starts.
// CODE.LENGTH, DURATION & COOLDOWN: UNCONFIRMED
Buildable Drill Rigs
Separate from the map’s drill towers, a Drill Rig is a structure your team builds and keeps running on fuel. Its limits are set so that running several rigs at once isn’t a dominant strategy, without ruling it out. Its build cost, which hammer builds it, and what an active rig does aren’t documented. Hammers and build costs are on Specializations.
| Drill Rig | Value |
|---|---|
| Minimum fuel to activate | 2,000 |
| Max fuel | 10,000 |
| Duration per fuel | 0.03s per unit of fuel |
| Max uptime | 300s |
| Post-spawn cooldown | Long (no number published) |
Max uptime is max fuel × duration per fuel (10,000 × 0.03 = 300s). The 300s max uptime matches the capturable towers, per the patch notes. The bigger fuel tank is meant to reward logistics players for keeping a rig fed, and the post-spawn cooldown means a destroyed rig can't be replaced straight away.